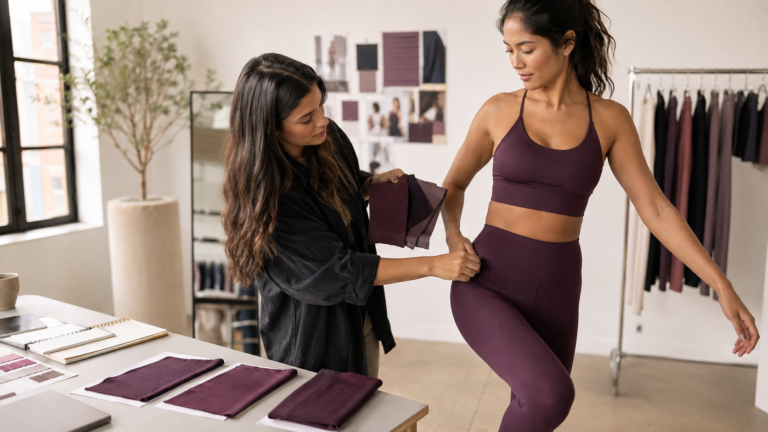


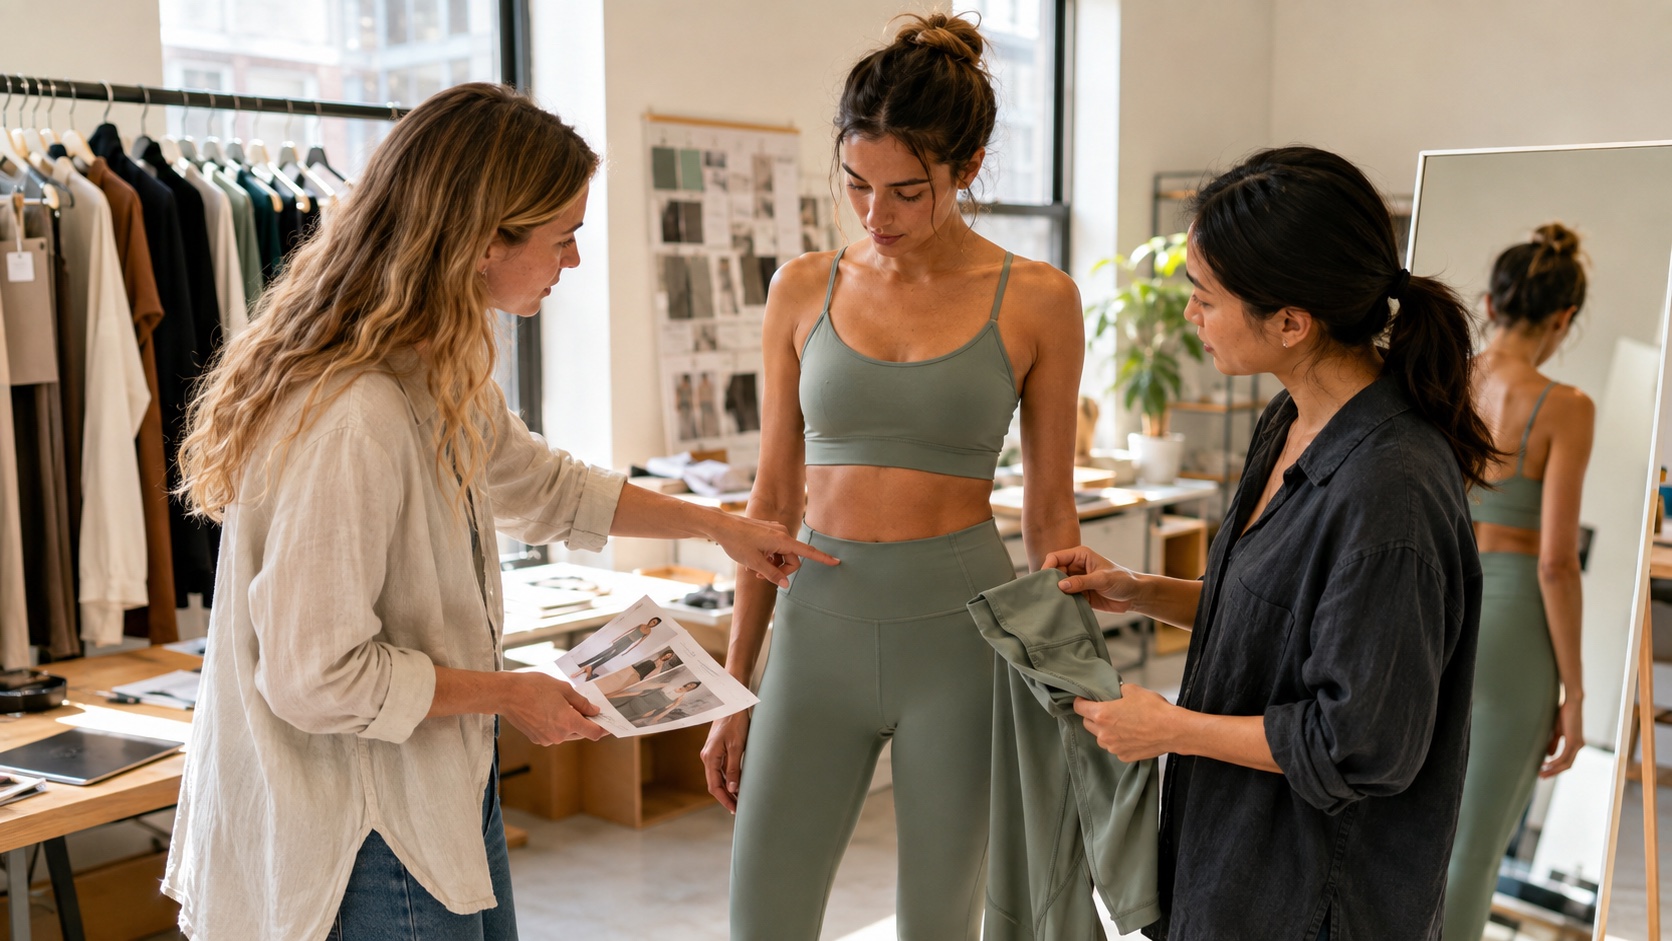
Your first activewear sample has arrived. It looks close enough in the product photos, but the waistband feels different from what you imagined, the bra shifts when the model moves, and you are suddenly asking one garment to answer ten questions at once.
That is how sampling becomes expensive. A founder sees one imperfect sample and writes, “Please make it better.” The manufacturer sees a request with no location, no priority, and no evidence of what “better” means.
A useful activewear sample review has a narrower job. It should tell you whether the product direction is working, identify the few changes that matter most, and show whether the next step is a revision, a different material choice, or a restart.
The first sample does not need to be perfect. It needs to make the next decision easier.
Do not judge the whole garment with one sentence
“The fit is off” is rarely one problem. The garment may have the right silhouette but the wrong length. The fabric may feel pleasant but reveal too much when stretched. The sample may look balanced standing still and pull at the armhole during movement.
Before writing comments, decide what this sample was meant to prove. A development sample may be checking the pattern and overall construction. A fit sample may be checking measurements and the way the garment sits on a target wearer. A branding sample may be checking the logo, label, and packaging details. Industry sample guides distinguish these purposes because one sample is not automatically a final production approval. Maker’s Row’s overview of apparel sample stages is useful background, while Techpacker’s fit-sheet guide shows how measurement and fit comments can be recorded across sample rounds.
Fast rule: write one sentence at the top of your review: “This sample is being checked for ______.” If you cannot fill in the blank, you are not ready to give precise feedback.
Four questions your first activewear sample should answer
1. Does the silhouette communicate the product idea?
Start with the garment on a person, not folded on a table. Look at the outline from the front, side, and back. Does the legging sit high enough to create the intended shape? Does the tank finish at the place you expected? Does the bra read as a studio piece, a training piece, or something in between?
This is a design-direction question, not a measurement question. If the whole proportion feels wrong, changing a single centimetre at the hem may not rescue it. Take full-body photos in a neutral stance and mark the three lines that define the shape: neckline, waistline, and hemline.
Comment example: “The overall shape is too long through the torso. Keep the neckline and armhole direction, but shorten the hem so it finishes just above the widest point of the hip.” That gives a patternmaker a place to work.
2. Does the garment stay where the wearer expects?
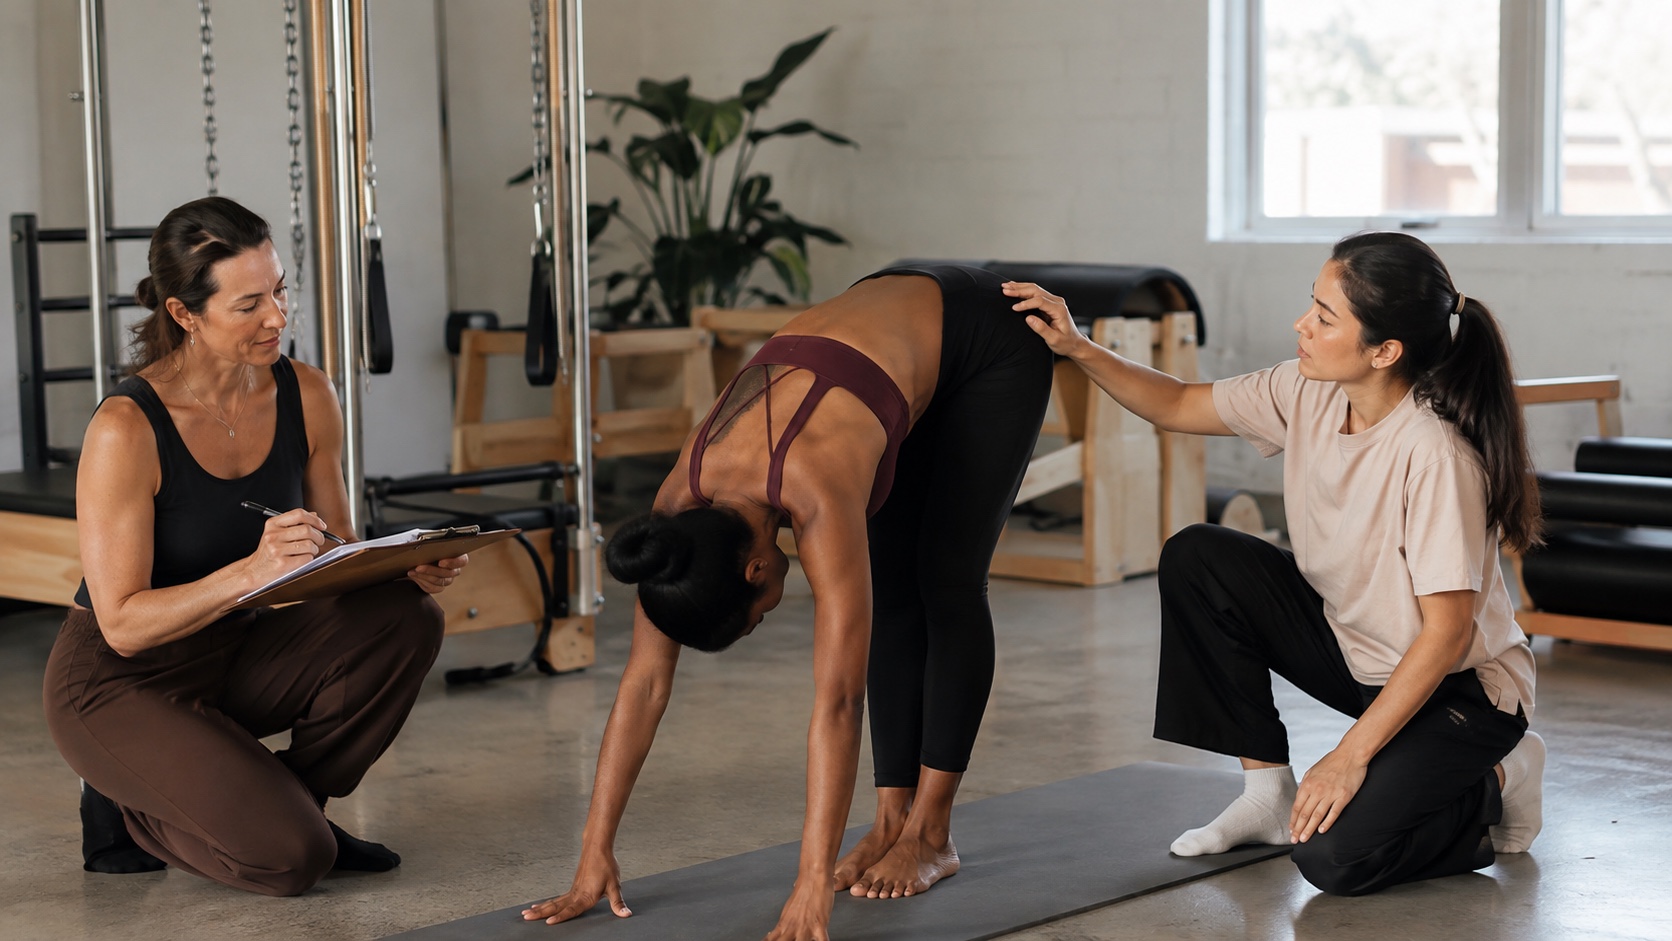
Activewear is not judged only while standing still. Ask the wearer to bend forward, reach overhead, rotate the torso, walk quickly, sit, and perform the movement the product is actually intended to support. A Pilates set, a running short, and a low-impact lounge set should not receive the same movement test.
Record the problem as a behavior: the waistband rolls during a forward fold; the bra straps move toward the neck; the shorts rise when walking; the back neckline opens when the arms lift. Avoid jumping straight to a construction solution unless you know it is the right one.
Save a short video beside the still photos. The video does not need to be polished. It only needs to show the moment the garment changes position. That evidence is more useful than “needs better support,” which could mean a different size, pattern, elastic, lining, or fabric.
3. Does the material behave honestly in the garment?
A swatch can tell you about hand feel and surface. The sample tells you how that material behaves after it is cut, sewn, stretched, and placed on a body. Check coverage in the positions your customer will actually use. Look for unwanted shine, visible seams, excessive cling, or a waistband that feels firmer than the rest of the garment.
Do not turn this into a laboratory report. Use a simple comparison: the sample, the reference garment, and the movement that matters. If you described the target as “soft but held-in,” write what you saw: “The hand feel is close, but the waistband relaxes after three forward folds,” or “The fabric looks opaque standing still but becomes transparent at the seat when stretched.”
If the material is the main problem, changing the pattern may only hide the issue. Ask to compare a small number of mature available fabric options or swatches, then confirm the choice through another sample. A fiber percentage on a specification sheet cannot guarantee the finished hand feel or fit.
4. Are the construction and brand details ready for another round?
Look at the seams, gusset, waistband finish, lining, straps, pockets, logo, labels, and closures. The point is not to find every possible imperfection. The point is to separate a detail that threatens the product promise from a detail that can wait.
A twisted strap on a performance bra matters immediately. A slightly different inner label position may not. A logo that sits over a high-stretch area may need a method or placement decision before the next sample. A care label that has not been checked for the destination market is a separate compliance task, not something to guess from a visual reference.
Rank the comments:
- Must fix: changes the fit, movement, coverage, safety, or core visual identity.
- Should fix: materially improves comfort, balance, construction, or brand presentation.
- Can wait: a minor preference that should not delay the main learning.
If every comment is marked “urgent,” the list is not helping the next sample. Choose the three changes that would most alter your decision to continue.
Use an activewear sample review sheet that keeps problems in their place
You do not need a complex product lifecycle system for one style. A shared document with one row per issue is enough. Use this format:
| Location | What happened | Evidence | Requested change | Priority |
|---|---|---|---|---|
| Front waistband | Rolls during forward fold | Video, 00:12–00:18 | Review waistband height and hold; compare with reference garment | Must fix |
| Left strap | Moves toward neck when arms lift | Front and back photos | Review strap angle and anchor position | Must fix |
| Outer logo | Looks too large on the short | Full-body photo | Test a smaller size at the same placement | Should fix |
| Care label | Information not final | Artwork file not approved | Confirm destination-market requirements before approval | Can wait |
The important columns are “what happened” and “evidence.” They stop a subjective reaction from becoming an untraceable instruction. “Make it more flattering” can become “the side seam angles forward at the hip; compare the sample with the reference photo and mark the intended line.”
Keep the original sample photos and the revised file together. If a comment changes the pattern, fabric, logo, or measurement, update the development record so the next sample is made from the latest decision rather than from a message buried in email.
Run a short movement test before you decide
A useful fit test does not require a sports laboratory. Match the test to the product:
- Pilates or yoga: forward fold, seated twist, leg extension, overhead reach, and a few minutes of floor contact.
- Running or training: brisk walking or jogging, arm swing, squat, step-up, and repeated bending.
- Studio-to-street: sitting, walking, layering, and checking how the garment looks after several minutes of ordinary wear.
Ask the wearer three plain questions: Where did you adjust the garment? Where did you stop trusting it? What would you change before wearing it in public? The second question is often the most revealing. A garment can technically stay in place and still feel too exposed or restrictive for its intended customer.
Photograph the garment at rest and during the problem movement. Mark the body area, not just the garment part. “Pulls at right underarm when reaching” is more actionable than “armhole bad.”
When should you revise the sample, and when should you restart?
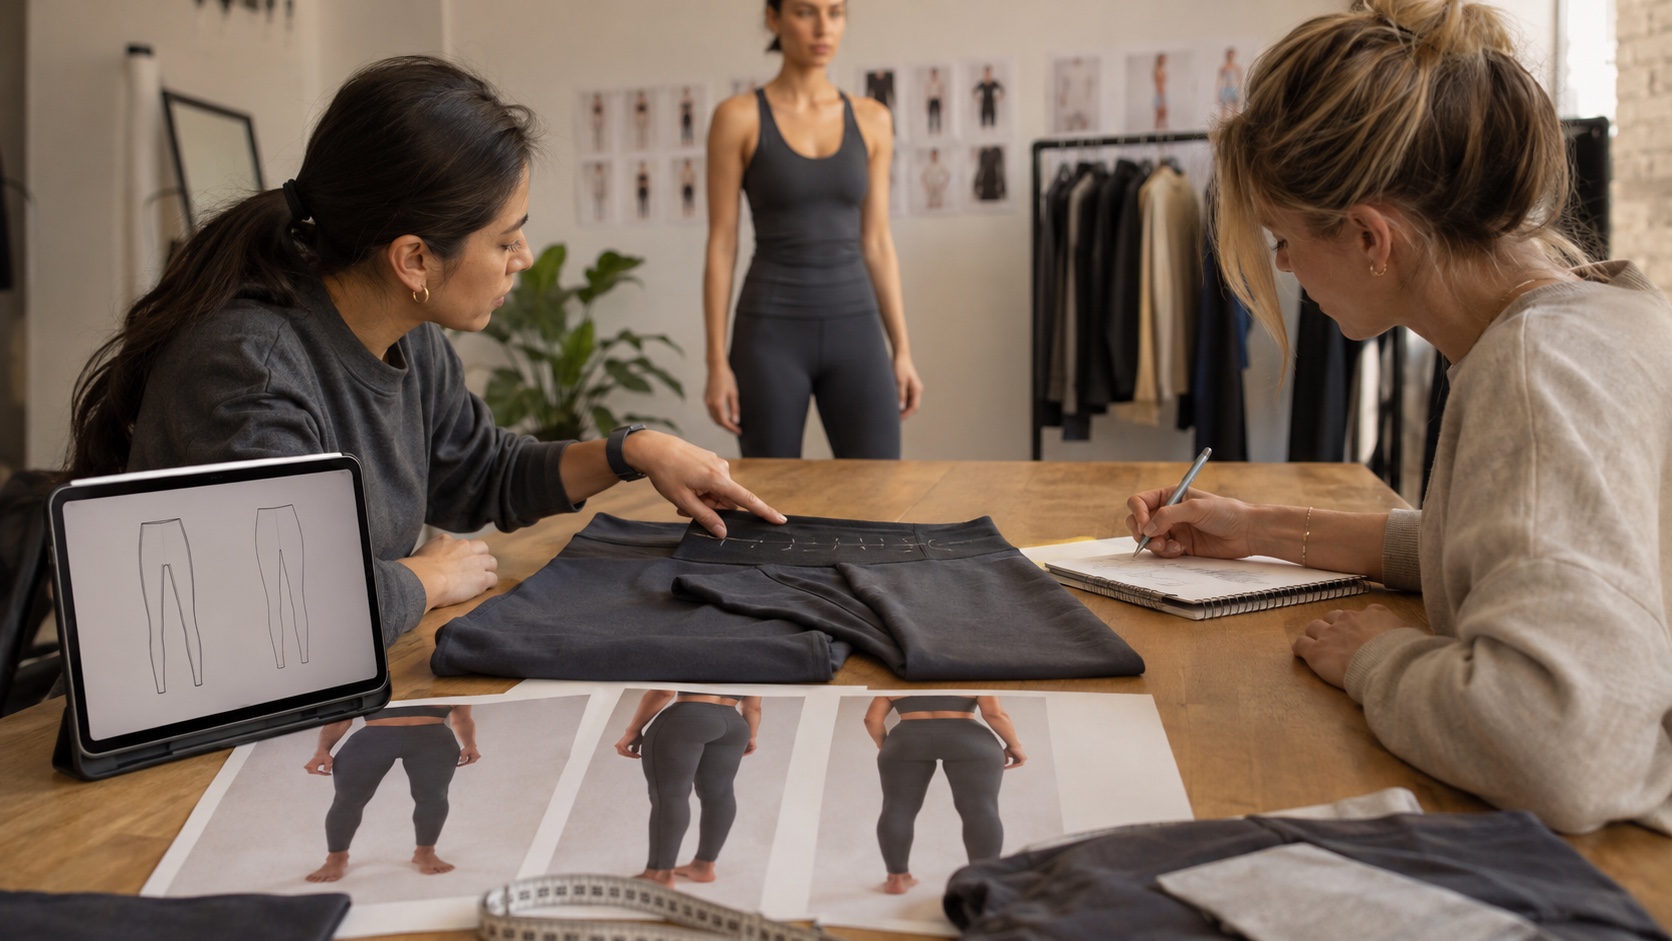
Revise when the product direction is right and the problem is local: the waist is too tight, the hem is too long, the strap angle needs adjustment, or the logo needs to move. A targeted revision lets the next sample answer a specific question.
Pause and reconsider the route when several core decisions are wrong at the same time. If the silhouette, material behavior, and intended activity all disagree, asking for a longer list of small changes may create a confused third version. Re-state the product brief, select the most relevant reference garment, and confirm what can realistically be changed before sampling again.
A restart is not automatically a failure. Sometimes it is cheaper than polishing a sample that is built around the wrong starting assumption.
Where Battlerobe fits into the next sample
If you already have an existing silhouette, available color, predefined size range, and only need confirmed branding, Battlerobe’s Ready-to-Custom route may be the simpler starting point. It is not original pattern development: the route does not cover a custom fabric, custom color, custom cut, or custom fit. The current public page states a minimum of 20 pieces per design and a minimum order of 100 pieces, with sizes and available colors mixable; confirm the current project details before proceeding.
If the sample review identifies a change to the pattern, cut, construction, fit, fabric choice, or color direction, the relevant conversation is Small-Batch Custom Development. Send the sample photos or physical sample, mark what must stay, list the changes in priority order, and explain the intended wearer and activity. Feasibility, materials, MOQ, pricing, and timing still need to be confirmed for the specific project.
That distinction matters. A factory cannot judge the right route from “please improve the fit.” It can start a useful review from a sample, a marked-up photo, a clear movement problem, and a short list of priorities.
Your next action: approve the question, not just the garment
Before you ask for another sample, write one sentence that begins: “The next sample must prove whether…” Finish it with one decision, such as “the waistband stays stable during a forward fold” or “the smaller logo reads clearly without feeling stiff.” That sentence is the most useful output of your activewear sample review.
Then attach the five things that make that question answerable:
- full-body front, side, and back photos;
- a short movement video showing the problem;
- the sample review table with priorities;
- one reference garment, image, or swatch where comparison is useful;
- the latest artwork, measurement, or construction instruction that has changed.
The first sample is not supposed to settle every preference. It is supposed to expose the next decision. Once the question is clear, revision becomes a controlled conversation instead of another round of “make it better.”