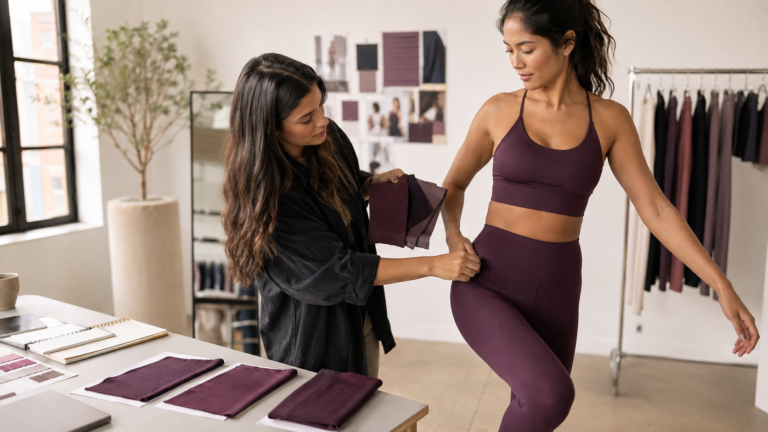


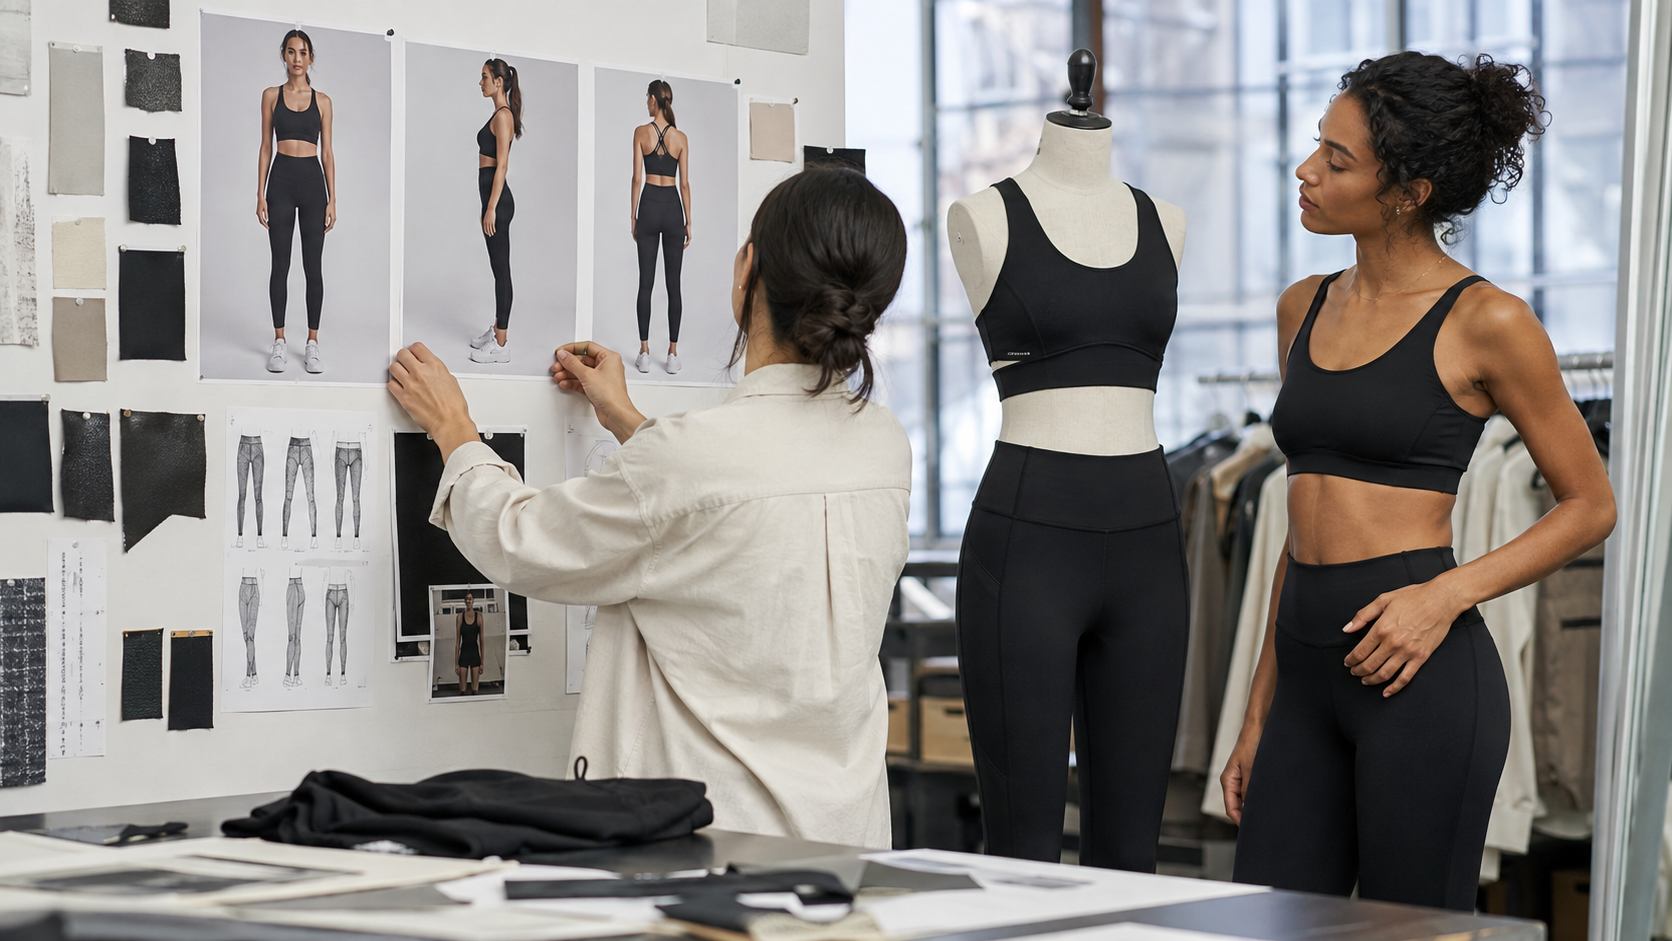
A reference image can show the mood of an activewear product in one second. It cannot show everything a manufacturer needs to cut, sew, fit, and review the garment.
That gap is where many first samples go wrong. The founder sees a square-neck tank with a clean back and assumes the image already communicates the product. The manufacturer still needs to know the intended length, support, coverage, fabric direction, seam priorities, logo, and which parts of the image are only styling.
If you are moving from a reference image to an activewear sample, your job is not to collect more screenshots. Your job is to turn the image into a short list of decisions.
What a reference image tells the sample team
When you save a reference, label what it is actually telling you:
- Product shape: neckline, body length, rise, leg line, sleeve, strap, or hem.
- Construction: seams, panels, lining, gusset, pocket, or opening.
- Material impression: matte, shiny, ribbed, brushed, smooth, firm, or draped.
- Styling: pose, lighting, layering, color pairing, accessories, and setting.
Only the first three may belong in the product brief. A pose that makes a top look cropped does not prove its actual length. A shadow can make a fabric look darker. A jacket layered over a bra can hide the support and coverage decisions.
A reference image is valuable when you identify the decision it can support and leave the hidden decisions open.
Fast rule: if you cannot point to the garment detail that the image is meant to communicate, treat it as styling inspiration rather than a production instruction.
Make a keep, change, and unknown list
Before sending an image, write three short lists.
Keep
These are the details that express your direction: a straight square neckline, a waist-length body, a clean back, a wide waistband, or a particular amount of coverage.
Change
These are the details that must differ for your customer: a higher back, longer body, wider straps, less exposed midriff, a pocket, or a different leg opening.
Unknown
These are decisions that need a physical comparison: which available fabric creates the right coverage, whether the strap position is comfortable, or whether a seam remains visually clean after stretching.
This format prevents a reference from becoming “make it exactly like this.” It also gives the development team permission to ask a better question when the image is ambiguous.
For the first activewear sample, a reference image should narrow the direction rather than close every decision.
Add the views the reference forgot
Most fashion images show a flattering front angle. A useful sampling package should fill in the missing views:
- front view with the garment standing naturally;
- side view showing body length and seam position;
- back view showing straps, coverage, and neckline;
- close-ups of any seam, pocket, gusset, or opening that matters;
- a movement or use reference when the garment is meant to support activity.
If the reference is a single image, do not invent the hidden back view. Mark it as unknown. A manufacturer can help propose a workable construction, but the proposal still needs your review.
Describe the product in measurement language only where it helps
You do not need a full professional tech pack to start a small development project. You do need to identify the measurements that define the idea.
| Product detail | Useful starting information |
|---|---|
| Top | Neckline, strap width, body length, underbust or hem position |
| Legging | Waist height, inseam or ankle position, waistband width, front seam preference |
| Short | Rise, inseam, leg opening, liner or coverage expectation |
| Outer layer | Layering purpose, sleeve length, ease, hem, and pocket requirements |
Use a reference garment or your own body measurement where possible. If a measurement is not decided, label it as an open question rather than guessing a precise number because it looks professional.
Keep the reference image beside the measurement note so the visual intention and the physical instruction can be reviewed together.
Techpacker’s guide to tech packs explains how flats, materials, measurements, construction notes, and revisions can be collected into one reference. For a small brand, the useful lesson is not “finish a giant document before speaking to anyone.” It is “make the decisions visible enough to review.”
Separate visual similarity from product function
A reference can communicate a beautiful shape without proving that it works for the intended activity. Ask four plain questions:
- Where should the garment stay during movement?
- Where should the wearer feel covered?
- What should the wearer be able to do without adjusting it?
- What feature would make the product disappointing even if the photo looked right?
For a Pilates top, that may be back coverage during an overhead reach. For a training short, it may be liner stability during repeated movement. For a studio-to-street tank, it may be the hem and neckline when worn under a jacket.
Write the answer beside the image. This is the part a product photo cannot settle.
Do not copy the reference brand by accident
Reference images are useful for communicating direction, but a small brand should decide which product problem it is solving rather than request an indistinguishable replica. Keep the visual cues that matter to your customer, then define your own length, coverage, branding, and use case.
The best reference image package gives the manufacturer a direction, a difference, and a question to test.
“Keep the clean square neckline and open-back feeling, but make the back higher and the straps stable for low-impact studio movement” is a development brief. “Make this exact top” is not.
Build a reference-image sampling package
Send one folder with:
- the main reference images, labeled by front, back, detail, or styling;
- a keep/change/unknown page;
- the product type, target wearer, and intended activity;
- the most important measurements or a reference garment;
- material references for hand feel, surface, coverage, or drape;
- logo, label, and packaging requirements;
- the sentence “The first sample must prove whether…”
Keep the last line narrow. “The first sample must prove whether the back stays covered when the wearer reaches overhead” is testable. “The first sample must prove whether the brand will succeed” is not.
When Battlerobe can help translate the image
If the image represents an existing silhouette you are willing to use and your main work is branding, compare it with the limits of Ready-to-Custom. The route does not redesign the pattern, cut, fit, fabric, or color.
If the image represents a defined garment difference, send the annotated references to discuss Small-Batch Custom Development. Battlerobe can review the project direction and confirm feasibility, material options, sampling, MOQ, price, and timing for that specific request. A reference image alone is not a promise that every detail can be reproduced.
The strongest first conversation contains fewer images and more judgment: keep this, change that, confirm this, and prove this in the sample.
That is how a reference image becomes a useful starting point for activewear development.
The sample should answer the image’s biggest unanswered question
Before approving development, circle the part of the reference you understand least. Is it the back construction, the fabric coverage, the body length, or the way the garment moves?
Make that the primary sample question. A good sample is not a perfect photograph brought to life. It is a physical way to discover what the photograph could not tell you.