

“The seam looked clean, then it opened when the customer stretched.”
Activewear seams pop for more than one reason. The thread may break, stitches may skip, the fabric may be damaged beside the seam, or the seam may simply be too restrictive for the movement the garment was designed to allow.
These failures look similar in a customer photo, but they do not have the same solution. Adding more thread, tightening the machine, or telling the customer not to stretch the garment can make the next result worse.
The first decision is not “Which thread should we use?” It is “Where did the seam stop carrying the movement: in the thread, the stitch formation, the fabric, or the construction?”
When activewear seams pop, look at how the seam failed
The thread is broken, but the fabric is intact
This points toward thread tension, thread strength, incorrect threading, needle damage, or a seam that is being extended beyond the thread’s useful range. The broken ends may be obvious, but the first break can be hidden inside an overlock or cover seam.
The stitches are missing in a line
Skipped stitches create a weak section before the seam visibly opens. On fine stretch knits, needle choice, loop formation, machine setting, speed, and thread relationship can all matter. Groz-Beckert notes that skipped stitches can arise when the needle geometry does not form or present the loop correctly, not only when the thread is poor.
The fabric has small holes beside the seam
This is a different problem from a thread break. The needle may be damaging the knit, the needle may be too large or worn, or the fabric may be particularly sensitive. A seam can remain intact on the table while the small holes become visible after wear.
The seam opens between intact stitches
The thread may still be present, but the construction may not allow enough elongation. A tight needle thread, unsuitable stitch type, or uneven feed can make the seam behave like a rigid line inside a stretch garment.
The seam is secure but the garment pulls elsewhere
Not every strain line is a sewing failure. If the garment is too small, the rise is short, or the panel balance is wrong, the seam may be carrying more load than the pattern intended. The right correction may be fit or pattern work rather than a stronger stitch.
A practical check before blaming the thread
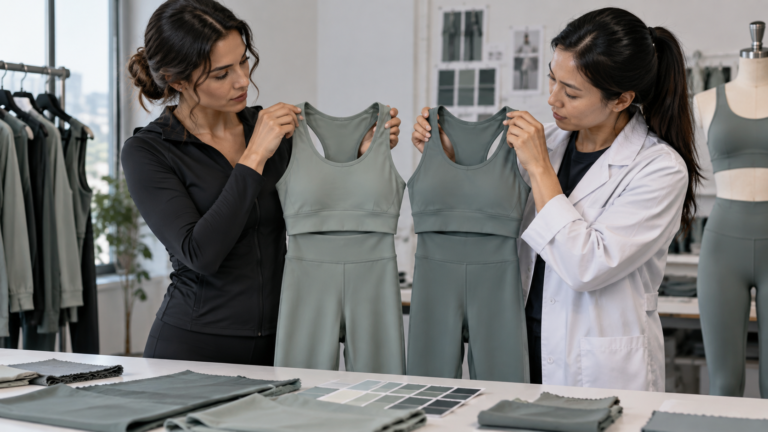
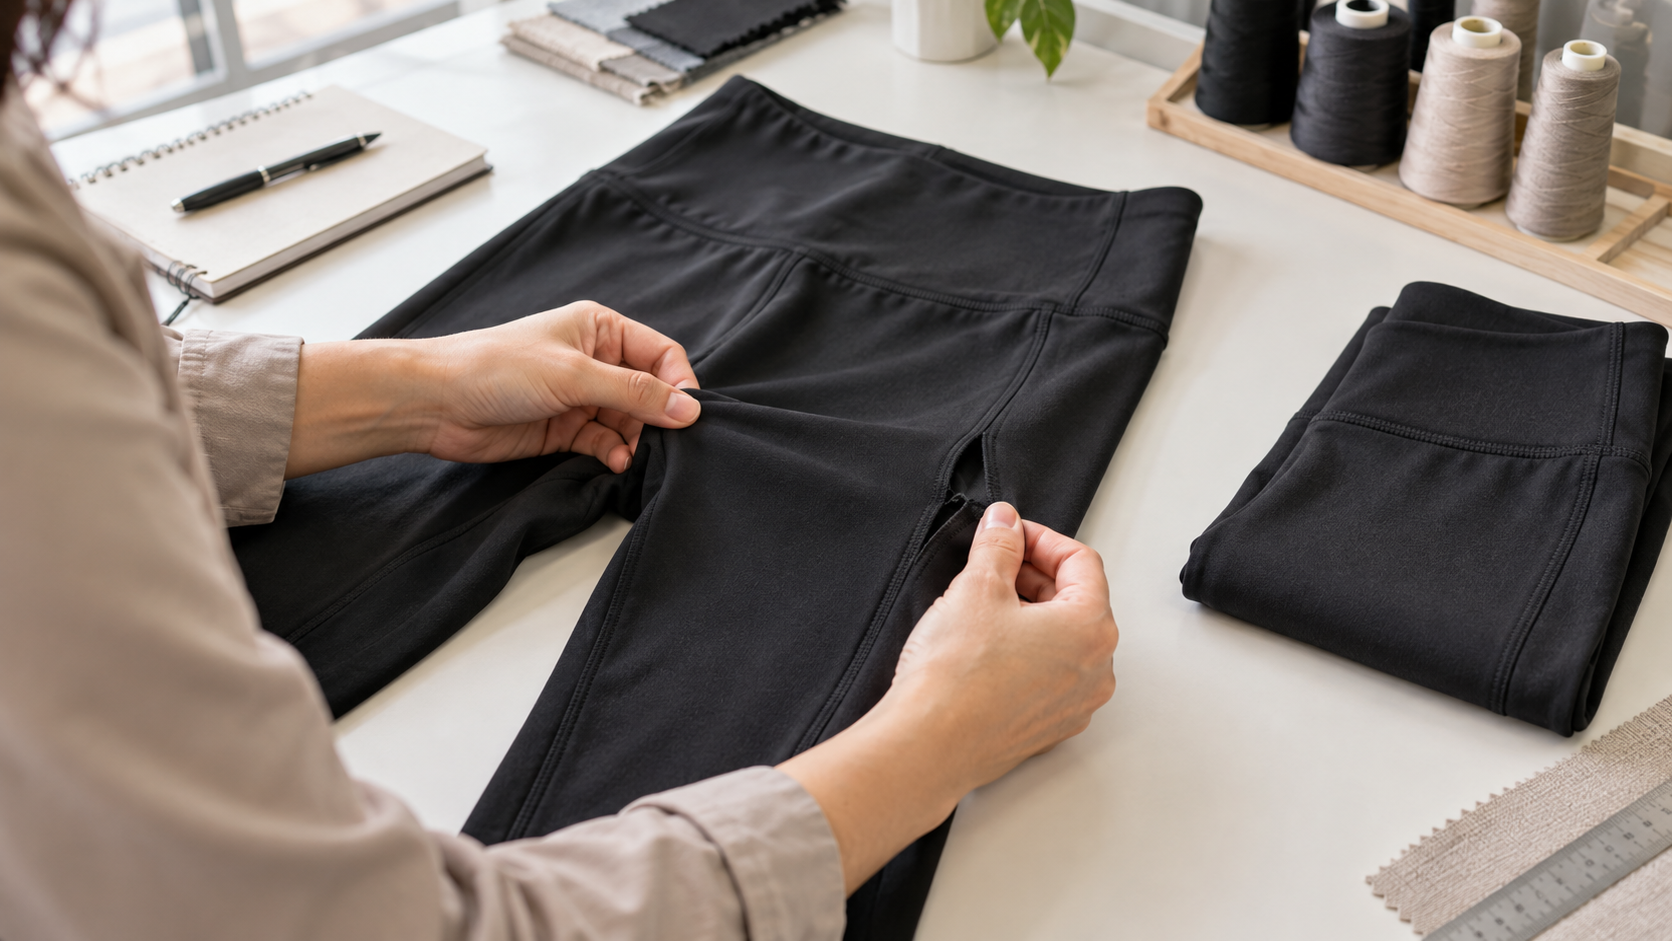
Take the affected garment and an approved or unaffected garment. Identify the exact location: side seam, inseam, gusset, waistband, hem, strap attachment, or logo area.
Then recreate the movement that caused the failure. Use a short video if possible. Inspect the seam before and after movement, rather than pulling it randomly in every direction.
- Does the first failure begin at the seam start or end?
- Is there a run of skipped stitches?
- Are there needle holes beside the seam?
- Does the thread break or does the fabric pull away from the stitches?
- Does the same location fail on other units from the same size, color, or lot?
- Does the seam fail only on a particular wearer or movement?
This is enough to rank the next check. It is not enough to declare a root cause from one photograph.
A useful way to log activewear seams pop complaints is to record the seam location, movement, size, color, and whether the same failure appears on other units.
The leading causes, in practical order
1. The seam cannot extend with the fabric
Coats describes activewear seams as a balance of strength, appearance, required stretch, bulk, and softness. A seam can be strong in a static pull and still feel wrong or fail when the garment is repeatedly extended in wear.
Check the seam on the garment, in the movement, with the actual fabric. The solution may involve stitch construction, thread choice, tension, feed, or pattern load.
2. Needle and thread are not working with the knit
Fine knitted fabrics and elastane blends can be damaged by a needle that is too large, too blunt, worn, or poorly matched to the material. A thread that is too thick for the needle can also contribute to thread breakage or skipped stitches. The right response is a sewing trial on the actual fabric, not a universal needle number copied from another style.
3. Sewing tension or feed is inconsistent
If one portion of the seam is tight and another is loose, the seam may ripple, restrict stretch, or open first at a transition. Compare several units from the same operation. One bad section suggests workmanship; the same pattern across a lot suggests a setting, material, or construction decision.
4. The pattern is asking too much of the seam
A short rise, tight armhole, narrow gusset, or small size can turn a normal seam into a high-load seam. If the issue appears only on the smallest size or a fuller wearer, the seam may be exposing a fit problem rather than causing it.
What to do with affected units
Hold the relevant group long enough to establish scope. If one unit has a loose thread end but the seam is secured, it may be a trimming or rework decision. If the same seam is skipped or opening across a lot, do not release the order based on a clean-looking surface.
Rework is credible only when the repair preserves the garment’s stretch and appearance. Sewing over a failed seam without checking the fabric damage can leave the original weakness underneath. If the needle has damaged the knit, the issue may not be recoverable by simply adding another line of stitches.
If the complaint is limited to a particular wearer and the garment is otherwise consistent, investigate size and pattern load. If the same failure appears on different bodies and units, treat it as a production issue until the comparison shows otherwise.
Preventing a repeat failure
Approve a seam on the actual material and the actual construction. Keep one physical sample and record the seam location, visible stitch appearance, and movement condition used for approval.
Before bulk, make a small sewing trial when the fabric is new, very fine, highly elastic, brushed, or unusually slippery. Look for needle damage, skipped stitches, thread breakage, seam restriction, and skin-facing roughness. That trial is often more useful to a small brand than a long technical discussion about machine settings.
During production, the first pieces should be checked before the operation continues through the whole order. If a seam problem appears late, the affected quantity should be traced by operation, size, color, and time period instead of assuming every garment has the same risk.
When Battlerobe can help
If you have a sample or a finished garment but cannot tell whether the correction belongs to the thread, seam construction, pattern, or size, Battlerobe may help organize a comparison and turn it into a revised sample or a production checkpoint. The relevant route is small-batch custom development when the style still needs fit or construction changes.
Send the failed area, one unaffected or approved reference, the fabric information, the size and color, the movement that caused the failure, and the decision you need. If the goods came from another supplier, this does not promise a remote repair; it creates the evidence needed to decide whether to sort, rework, redevelop, or change the next production route.
Final decision
When activewear seams pop, the visible opening is only the symptom. Find out whether the seam, thread, needle, fabric, construction, or fit created the weakness. The smallest useful check is a movement comparison on the actual garment, followed by a scope check across units.