

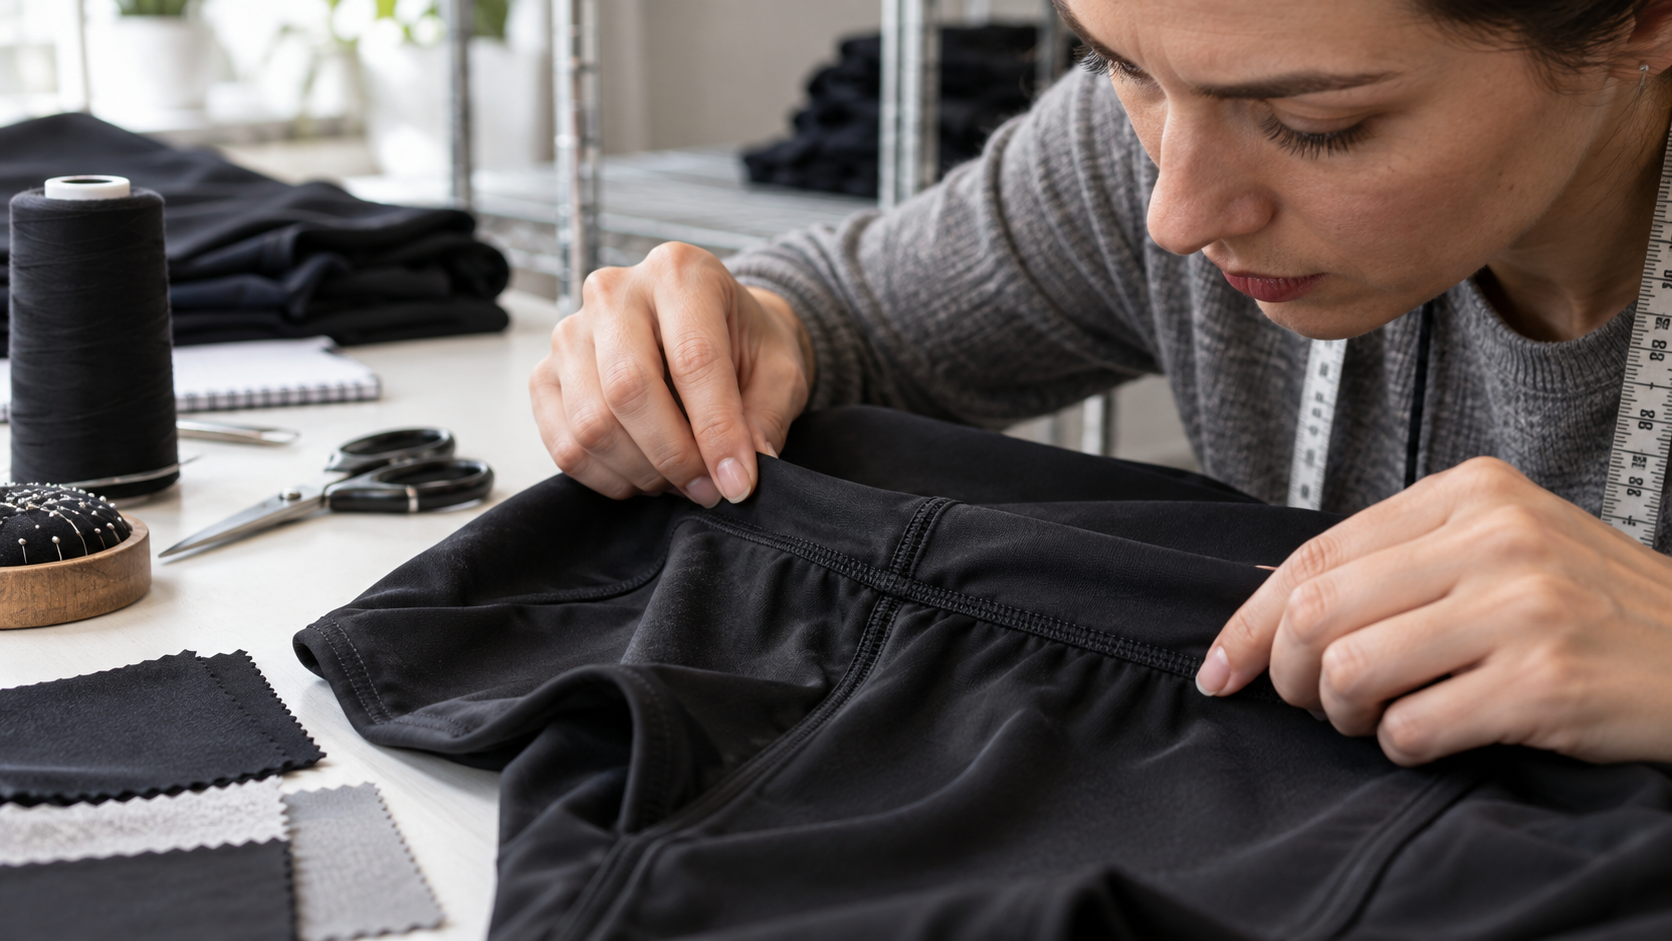
“The sample seam was smooth. In production, the same line looks gathered and wavy.”
Seam puckering in activewear is often blamed on the thread because the distortion sits beside the stitch line. That explanation is sometimes right, but it is incomplete. Fabric structure, stitch type, feeding, tension, needle choice, and post-sewing treatment can all change how a stretch garment looks.
The first useful decision is not which thread sounds strongest. It is whether the puckering is created during sewing, appears after finishing or washing, or comes from the fabric and construction working against each other.
What the pucker is telling you
Look at the seam relaxed, then look at it under gentle movement. A tight line that becomes smooth when stretched is different from a surface that remains permanently rippled. A wavy coverstitch hem is also a different problem from a side seam that pulls the body fabric into small ridges.
Record the location and timing:
- Does it appear on the first sample, after pressing, after washing, or only in bulk?
- Does it follow one operation, one seam, one fabric lot, or the whole style?
- Is the pucker on one side of the seam or both?
- Does the seam feel tight, or is the problem mainly visual?
Coats describes seam puckering as a problem with several possible contributors, including fabric structure, thread and needle size, seam construction, tension, and feeding. That is why a quick thread substitution can miss the real cause.
Compare three moments before changing the method
If you can do only one thing today, compare the same seam before treatment and after the condition that revealed the pucker. That tells you whether the correction belongs first to sewing or to the material and finish.
Use the approved sample, one affected production piece, and—if possible—a small piece from the same fabric before sewing. Compare the seam in three conditions:
- relaxed on the table;
- gently extended in the garment’s normal direction of movement;
- after the simple wash or finishing condition that exposed the complaint.
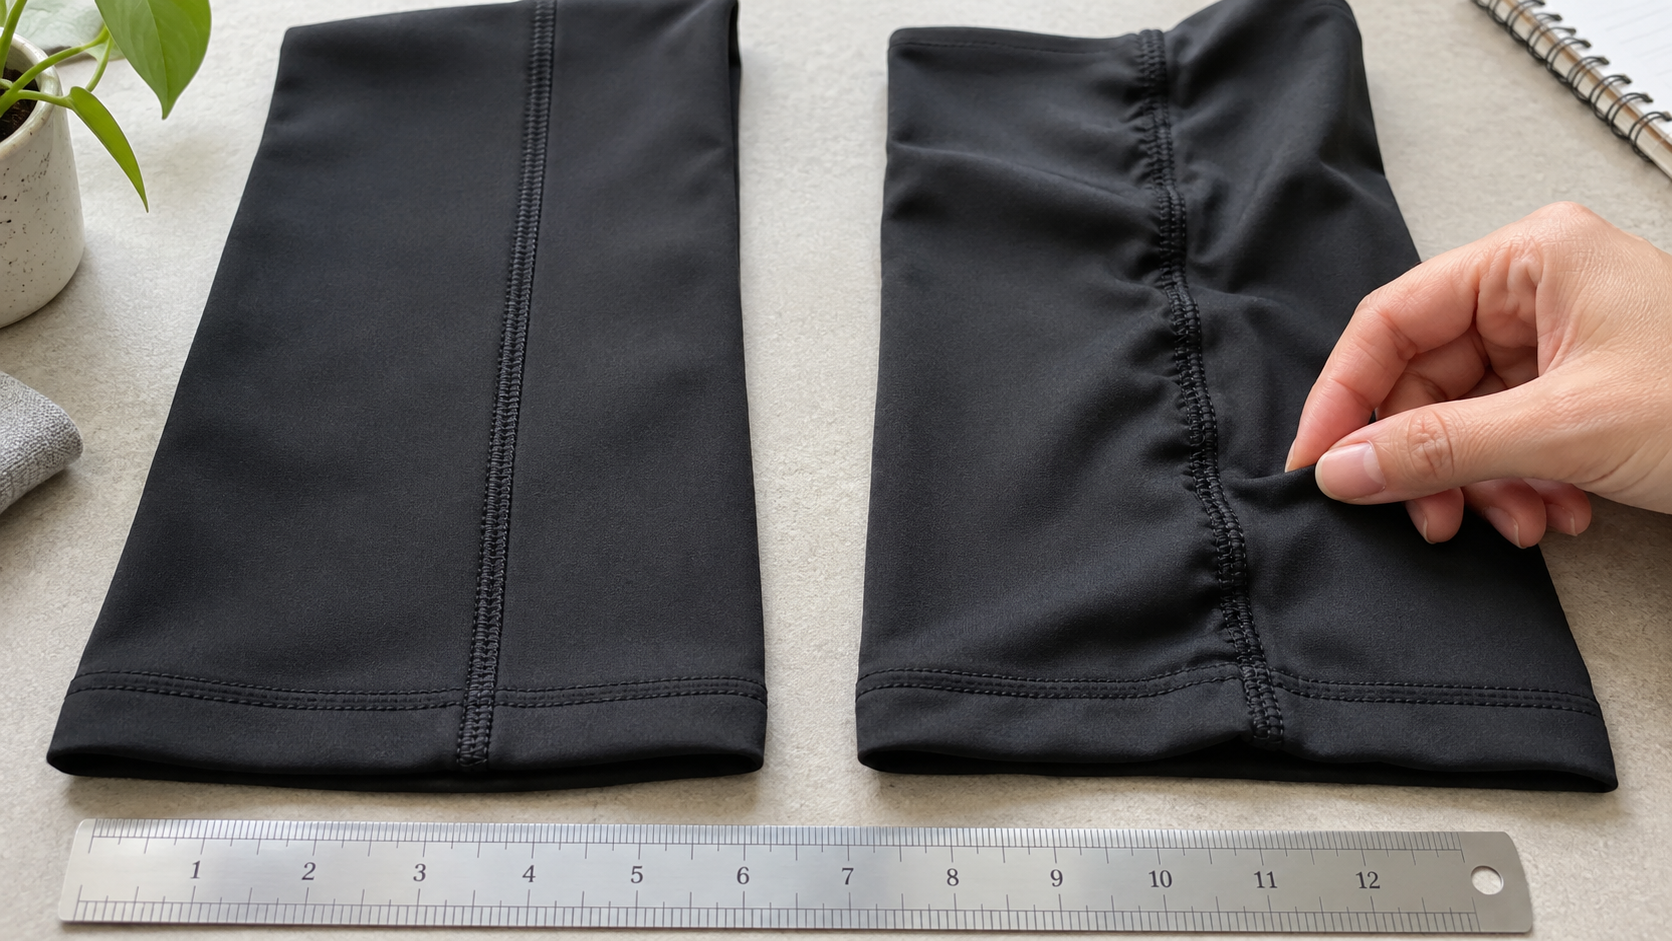
Photograph the whole seam, not only the worst two inches. If the issue repeats at every curve or transition, it points toward construction or feeding. If it appears only after treatment, the fabric and thread may be changing differently.
Four cause patterns worth separating
1. Tension pucker
The seam thread has been pulled too tightly and contracts the fabric along the stitch line. This often creates a regular, tight ripple. Compare the same operation at the beginning and end of a seam. If the appearance changes with machine setup or operator handling, tension and feed deserve attention.
2. Fabric structure pucker
A close knit or delicate synthetic surface may not accommodate the needle and thread cleanly. The fabric can look slightly gathered even when the operator has followed the same path. A short sewing trial on the actual fabric is more useful than assuming the setting from another garment will transfer.
3. Feed or differential-feed pucker
If the two layers travel at different rates, one layer can be pushed or stretched into the seam. Look for a seam that is smooth in one section and wavy where curves, bindings, or multiple layers begin.
4. Post-treatment pucker
Threads, fabric, lining, and reinforcement can react differently after finishing or washing. Coats notes that dimensional changes after treatment can leave a seam puckered even when it looked acceptable before. This is why a pre-wash sample is not always enough.
A second image can save a wrong correction
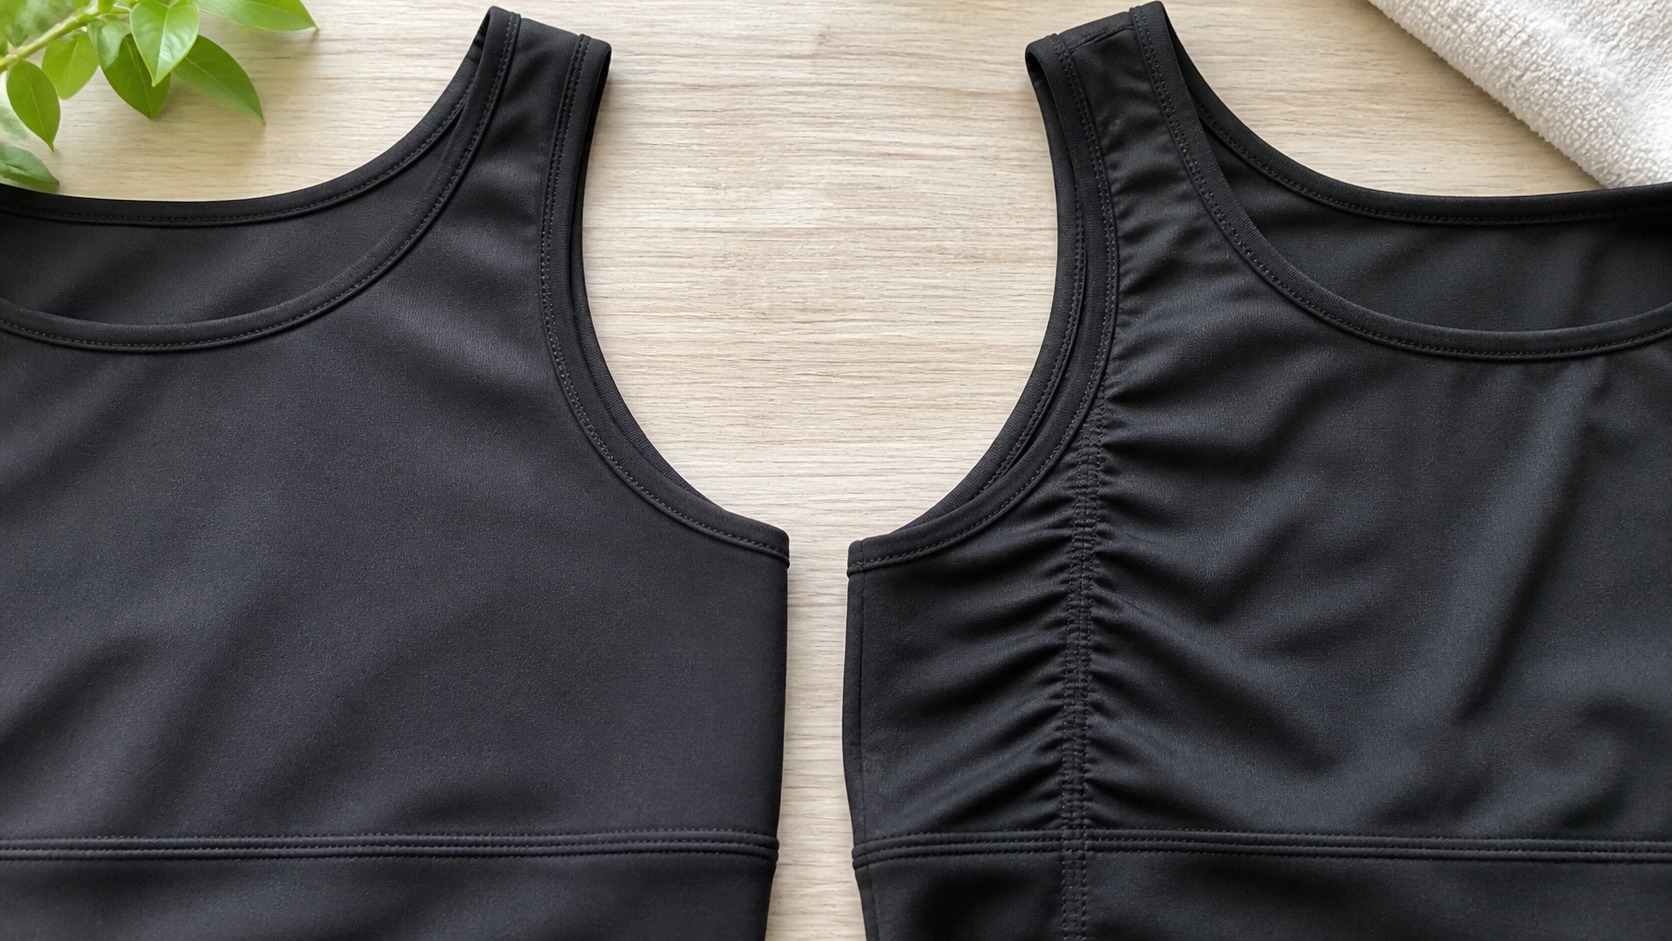
Put the smooth and puckered sections beside each other. Ask whether the fabric itself is rippled away from the stitches, whether the stitch line is tight, and whether the same problem appears on the approved sample after the same condition. If the approved sample also changes, the issue may be an unrecorded product behavior rather than a bulk workmanship failure.
Do not cut open the only approved sample just to investigate. If a seam must be opened, use an affected piece or a small trial and record what changed.
What to do with the current production
Contain the affected operation before the whole order is finished. Check the first pieces from each important seam, color, and fabric lot.
- Release: the seam matches the approved reference under the intended condition.
- Rework: the issue is caused by a controllable operation and the repair keeps the garment smooth and flexible.
- Hold: the same pucker repeats across units or the seam restricts movement.
- Revise: a new stitch, thread, panel, or construction trial is needed before more goods are made.
Adding another line of stitching may hide the ripple while making the seam stiffer. Do not approve a visually flatter result if the garment becomes less comfortable or less able to extend.
Prevent it before the next cut
For a new fabric, finish, or construction, ask for a small sewing trial that includes the actual seam, curve, and number of layers. Approve the seam after the relevant finish or wash condition, not only under the sewing machine.
Keep the approved sample and a close-up of the seam appearance. A phrase such as “clean flat seam” is too vague on its own; a photograph showing the acceptable surface gives the factory a reference that can be checked during first-piece approval.
When Battlerobe can help
If the pucker exposes a construction decision rather than a simple finishing issue, Battlerobe may help compare the fabric, seam, and sample through small-batch custom development. The aim is to identify whether the next sample should change stitch construction, sewing setup, panel handling, or the material itself.
Send one smooth reference, one affected sample, a close-up of the seam, the fabric information, and the condition after which the pucker appears. Battlerobe can use that packet to decide whether a revised sample is worth making; it cannot establish a remote root cause or promise that a new thread alone will solve it.
Final decision
Seam puckering in activewear is a comparison problem before it is a thread problem. Check when it appears, where it repeats, and whether the garment still moves correctly. Then change the smallest credible part of the process.